Preserving Culinary Heritage: Traditional Canning Techniques Revisited
silverexch com, goldenexch create account, betbook247 com login:Preserving Culinary Heritage: Traditional Canning Techniques Revisited
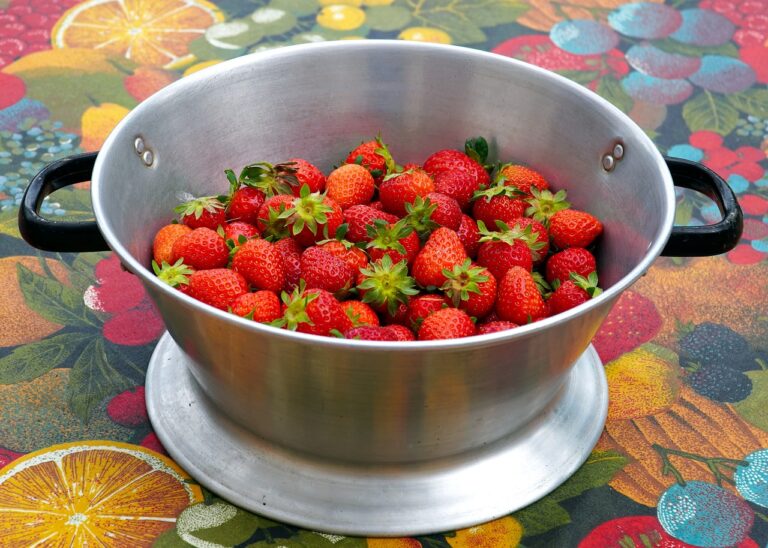
Picture this: you’re at your local farmer’s market, surrounded by fresh fruits and vegetables in vibrant hues. You purchase a bushel of ripe tomatoes and a basket of juicy peaches, eager to savor the flavors of summer long after the season has passed. But how can you ensure that these bountiful harvests don’t go to waste? Enter traditional canning techniques, a time-honored method of preserving fruits and vegetables that has been passed down through generations.
In today’s fast-paced world, where convenience often trumps tradition, there is a growing movement to revisit these tried-and-true canning methods. Not only do they help reduce food waste and save money, but they also allow us to connect with our culinary heritage and savor the flavors of the past.
So, grab your mason jars and dust off your canning equipment – it’s time to explore the world of traditional canning techniques and discover the joy of preserving your own fruits and vegetables.
The History of Canning
Canning as a method of food preservation dates back to the early 19th century, when French inventor Nicolas Appert discovered that sealing food in airtight containers could prevent spoilage. His discovery revolutionized the way food was preserved and laid the foundation for the modern canning industry.
In the ensuing years, canning techniques evolved, with advancements in technology and the development of new recipes and methods. Today, canning is more popular than ever, with home cooks and food enthusiasts embracing traditional techniques to capture the flavors of the season and enjoy them year-round.
The Basics of Traditional Canning
Traditional canning involves a few key steps to ensure that your preserves are safe and delicious. Here’s a quick overview of the process:
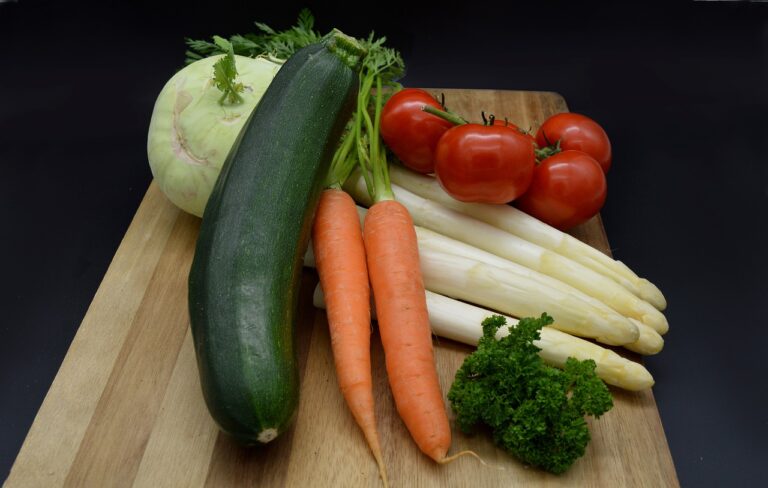
1. Prepare your produce: Start with fresh, ripe fruits and vegetables that are free of blemishes or bruises. Wash and trim them as needed before proceeding.
2. Sterilize your equipment: To prevent contamination, sterilize your jars, lids, and utensils by boiling them in hot water or running them through a dishwasher cycle.
3. Prepare your recipe: Whether you’re making jam, salsa, or pickles, follow a trusted recipe to ensure proper canning techniques and ingredient proportions.
4. Fill your jars: Fill your jars with the prepared recipe, leaving the appropriate headspace as directed in the recipe.
5. Process your jars: Process your jars in a water bath or pressure canner according to the recipe’s instructions. This step is crucial for killing any harmful bacteria and ensuring a safe seal.
6. Store your preserves: Once your jars have cooled and sealed, store them in a cool, dark place for optimal shelf life.
By following these simple steps, you can create delicious preserves that capture the flavors of the season and allow you to enjoy your favorite fruits and vegetables year-round.
Traditional Canning Techniques Revisited
While traditional canning methods have stood the test of time, there are a few key techniques that can help elevate your preserves to the next level. Here are some tips to help you get the most out of your canning experience:
1. Use high-quality ingredients: The key to great preserves is starting with the best ingredients. Choose fruits and vegetables at the peak of freshness for the best flavor and texture.
2. Experiment with flavors: Don’t be afraid to get creative with your recipes! Add herbs, spices, or citrus zest to your preserves to give them a unique twist.
3. Pay attention to texture: The texture of your preserves can make or break the final product. Follow your recipe’s instructions carefully to achieve the perfect consistency.
4. Properly seal your jars: A tight seal is crucial for preserving your preserves. Make sure your jars are properly sealed before storing them.
5. Label and date your jars: To avoid confusion and ensure you use your preserves before they lose their quality, label each jar with the contents and the date it was canned.
6. Share your preserves: Canning is a labor of love, and what better way to spread the joy than sharing your preserves with friends and family? They’ll appreciate the effort and savor the delicious flavors you’ve captured.
By incorporating these techniques into your canning routine, you can create preserves that are not only delicious but also a true reflection of your culinary heritage.
FAQs
Q: Can I reuse canning lids?
A: It is not recommended to reuse canning lids, as they may not seal properly and could lead to spoilage. For the best results, use new lids for each batch of preserves.
Q: How long do canned preserves last?
A: Canned preserves can last for up to one year if stored in a cool, dark place. Be sure to check for signs of spoilage before consuming any canned goods.
Q: Can I adjust the sugar content in my preserves?
A: Yes, you can adjust the sugar content in your preserves to suit your taste preferences. Just be sure to follow a trusted recipe and adjust the sugar levels accordingly.
Q: Can I can low-acid foods using a water bath canner?
A: Low-acid foods, such as vegetables and meats, should be processed in a pressure canner to ensure their safety. Water bath canners are best suited for high-acid foods like fruits and pickles.
In conclusion, traditional canning techniques offer a wonderful way to preserve the flavors of the season and connect with our culinary heritage. By revisiting these time-honored methods and incorporating modern techniques, you can create delicious preserves that will delight your taste buds and nourish your soul. So, roll up your sleeves, gather your ingredients, and start canning – the rewards are well worth the effort.